PURPOSE
The purpose of this module is to collect Employee feedback, Client feedback, Leadership Feedback etc. , both internal and external
CREATE QUESTION BANK
Navigation:
Survey Central >> Question Categories
On navigating to the page shown in Figure 217: Question Categories, the user is shown all categories of questions in the system, along with the options to edit and remove the same.

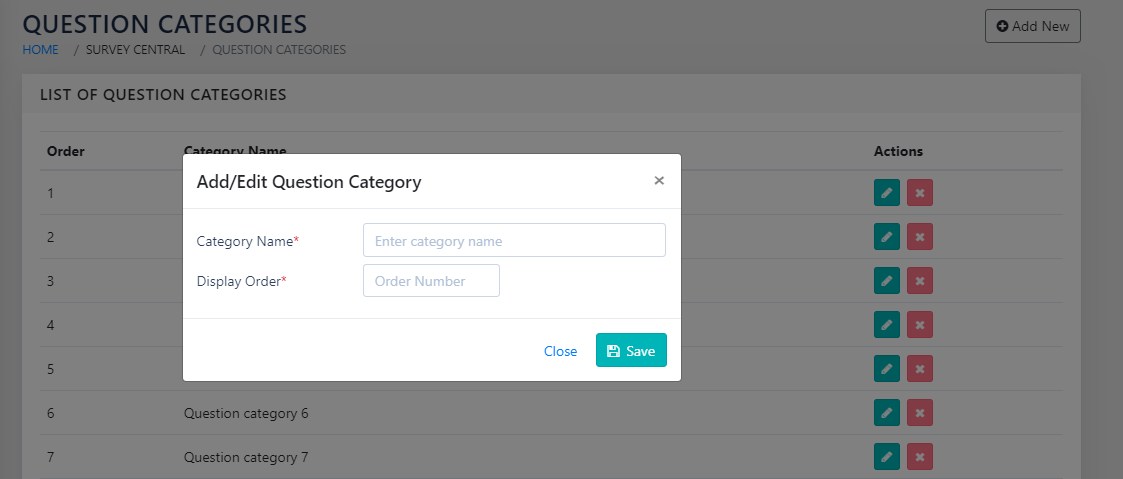
On clicking Add New or the icon, the page shown in Figure 218: Add Question Category is shown. The user types in the name of the category and the sort ID that determines the sequence of listing on this page.
Navigation:
Survey Central >> Question Bank
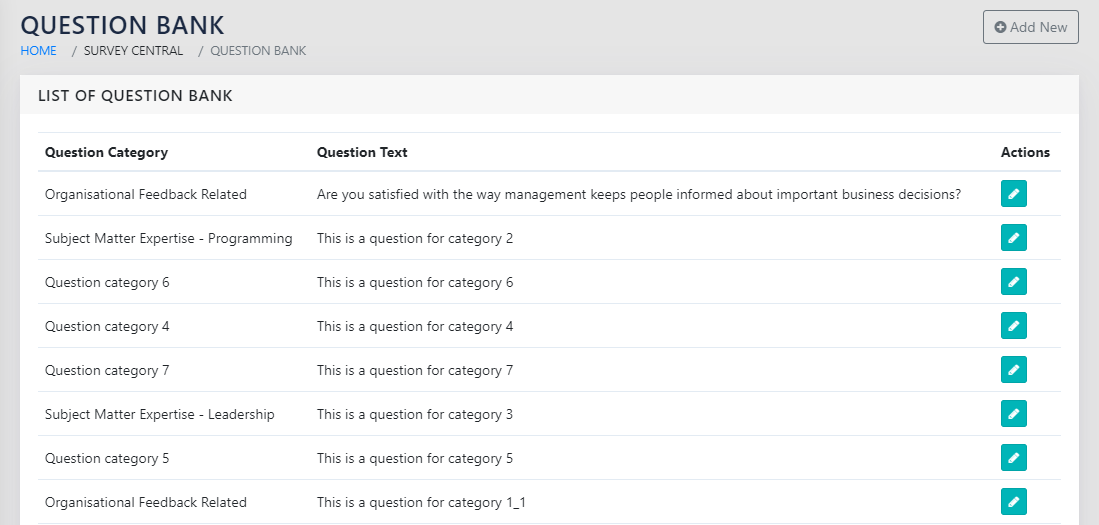
On navigating to the page as shown in Figure 219: List of Questions by Category, the user is presented a list of all questions in the question bank sorted by category.
On clicking the Add New or the icon, the user is shown the page in the Figure 220: Add Question and Response Actions
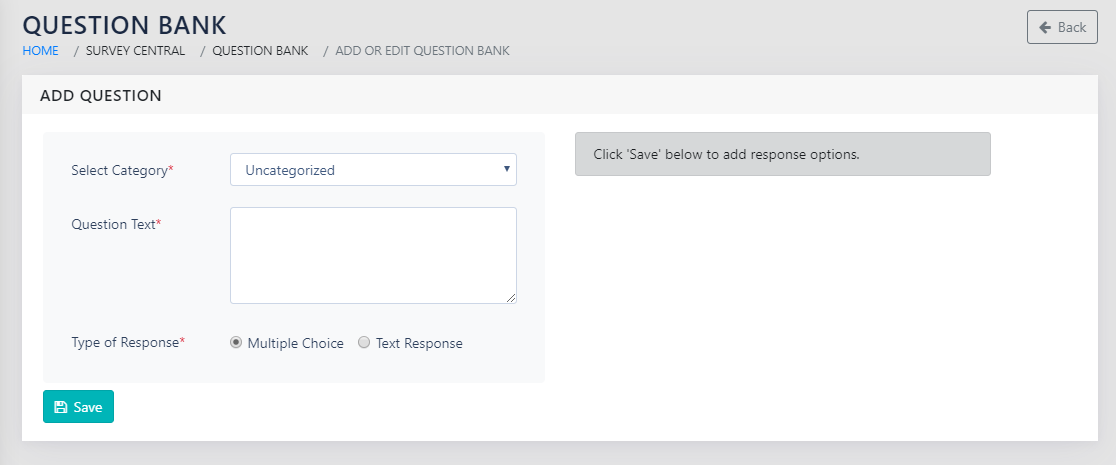
The page has the following fields that need to be populated:
- Select Category- Dropdown- Option to select one of the categories from the list in Figure 217: Question Categories
- Question Text- Free Text- The question statement is specified here
- Type of response- Choice between Multiple Choice and Text response
- In case of a text response, no more inputs are required
- In case of a multiple choice response, the user adds the options for the respondents on which the rating is to done.
CAPTURE
CREATE SURVEY
Navigation:
Survey Central >> Surveys
When the user navigates to the page shown in Figure 221: All Surveys, they see all the surveys that have been created in the system. They can use the icon to edit the survey, or the icon to remove it. Note that the deletion works only if no responses have been received for the survey.
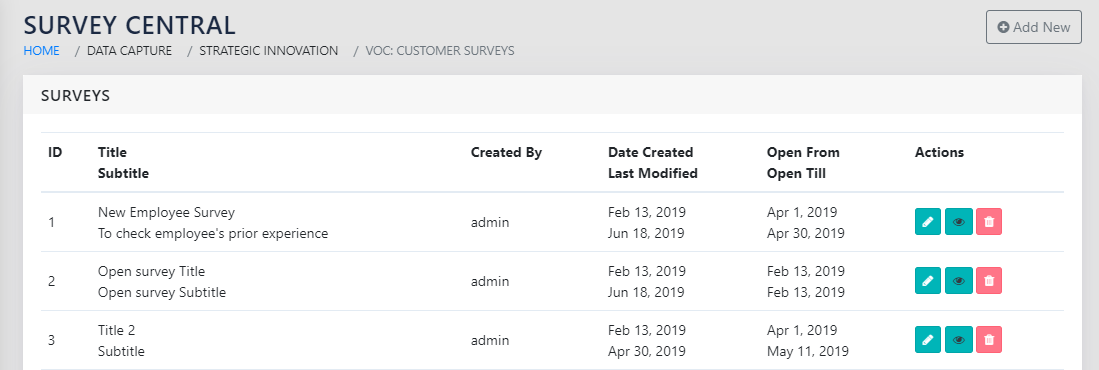
On clicking the icon, survey responses can be seen. Refer Figure 228: Responses at a Glance by question.
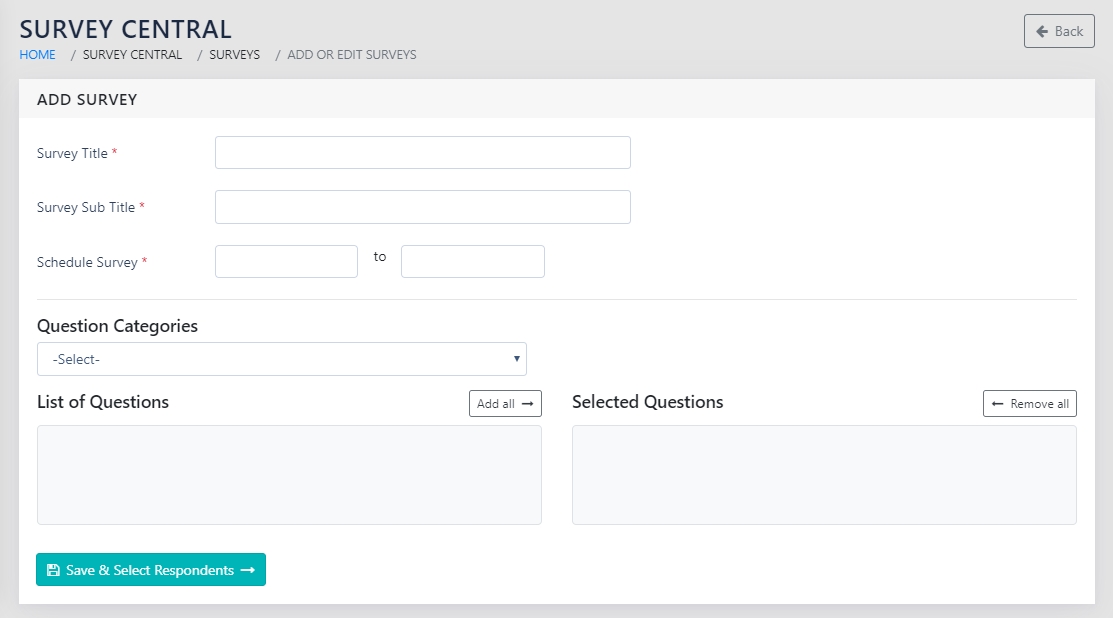
To add/ edit the survey, click on the icon or the Add New button in the page shown in Figure 221: All Surveys. On clicking the above, the page shown in Figure 222: Add a Survey and Survey Questions is presented to the user.
The user is expected to specify
- Survey Name: A text that acts as the name of the survey
- Survey Subtitle: Text that specifies the details of the survey
- Open Window- The time window within which the responses will be accepted
- Question Categories- All the question categories defined in the page shown in Figure 217: Question Categories appear as a dropdown here.
- List of questions: All the questions in then selected category appear in this box. These can be moved to the box on the right to include in the survey. Once in the right hand side box, they can be
reordered using the icons towards the right of the page.
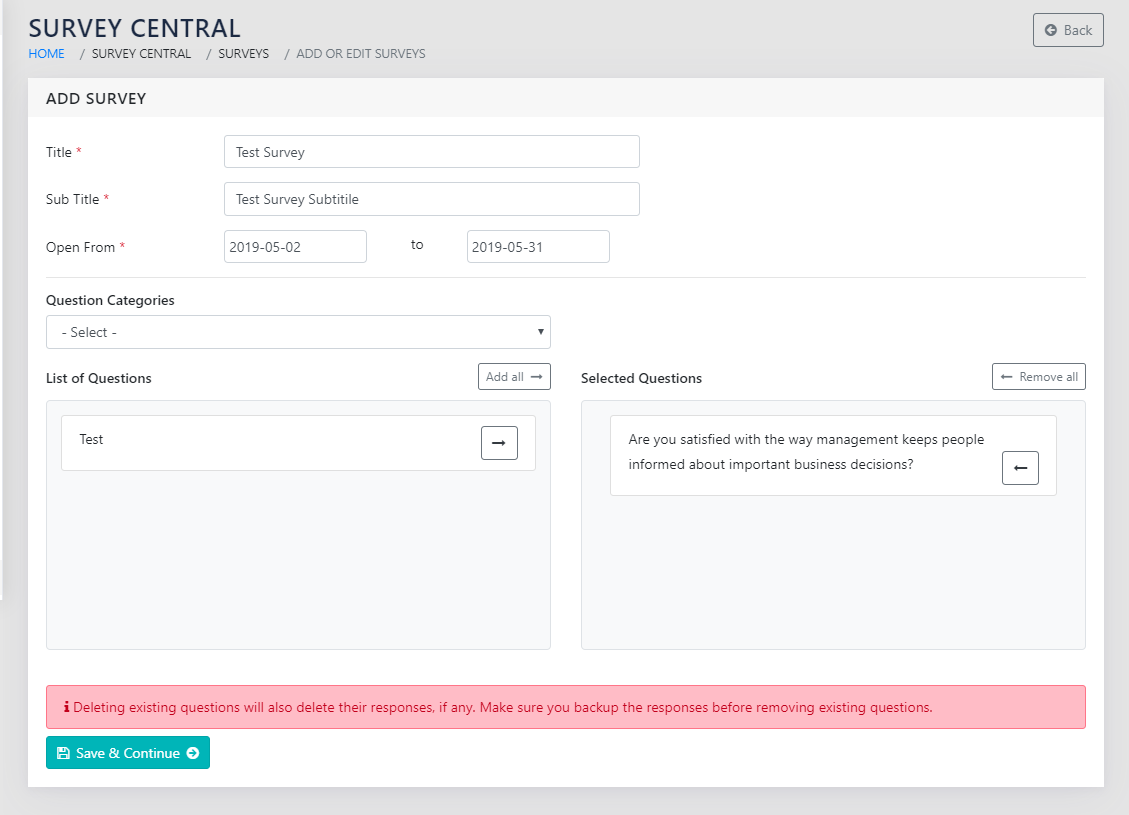
Once the questions are finalised, click on Save & Select Respondents to take you to the page shown in Figure 223: Add Respondents to a Survey. Here, you can select employees and clients from the dropdown and select the intended respondents. You can then click the Save Respondents button to save and release the survey