ACCESS DETAILS
The application features robust access management wherein access to functionality is adjudged by the role of the user. The users are of 3 types based on their access in the application:
- Level 1 (Administrator): Unrestricted access to all features of the application. Administrator can also login as any other users also and perform tasks in their name.
- Level 2 (Business Unit Heads/Deputy Heads): Access to selected functions of administrator along-with rights to capture data for own Business Units.
- Level 3 (Standard User): Access to limited areas like updating ’Employee Objectives’, ‘Individual Development Plan’ etc.
Creating an employee automatically creates a user login with access to Level 3 as described above. If the employee is made Head/Deputy head of any Business Unit, their access will automatically go up to Level 2. Level 1 access can be granted to any user by existing Administrators.
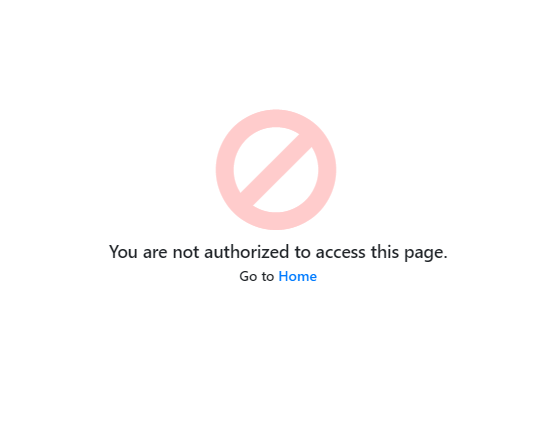
If you try to access a page where you do not have rights to view/edit, the page shown in Figure 21: Access Denied Notification will appear.
ACCESS RIGHTS FOR EMPLOYEES
On clicking the Edit button and then click on User Access button, the administrator can define the access rights for a user on a Page by page level. This is as shown in Figure 22: Access Role. The pages to which access needs to be given may be checked in this page for the user.
Please note that this page can only be accessed by the administrator irrespective of the rights given to the user.
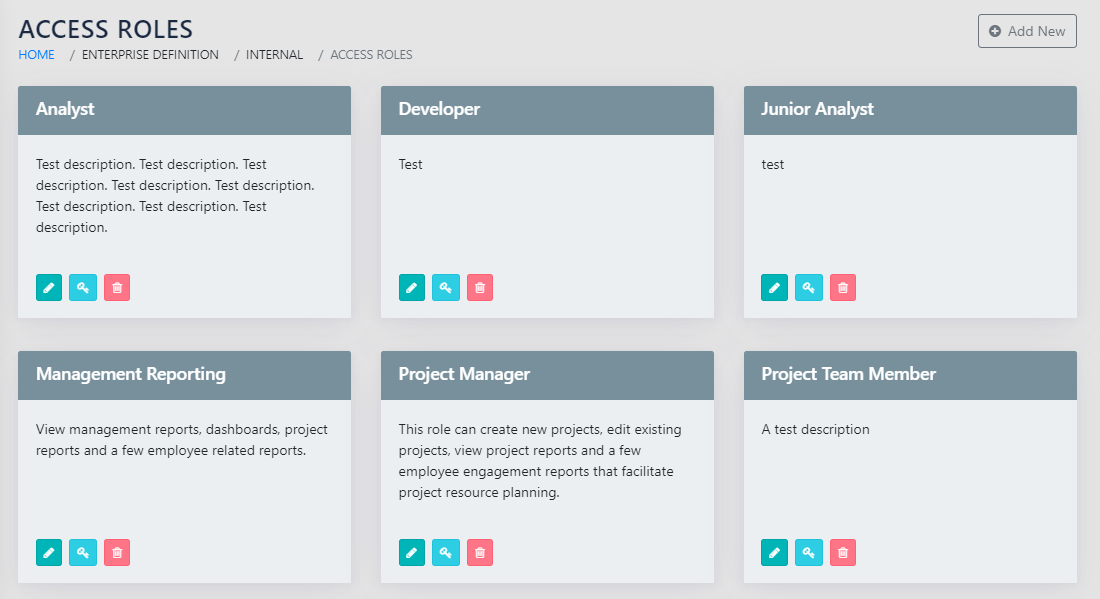
Please also note that the contents of the application pages may still be different based on your defined grade level. Typically, the Head and Dy head of the BU will see some information that is not accessible to the user regardless of access rights.
Add Users
The application runs a scheduled job every 15 minutes and adds the newly added employees as users of the system. Once the background task has successfully completed, the Administrator receives a message in the message centre. The Icon Overlay indicates the number of messages, as shown in Figure 23: New User AddedIndication.

On clicking the message icon, the Admin is taken to a page where information on the employee ID, Name, The username and password is available for each user. Once the administrator informs the users, they can use the CheckMark against the user entry to archive the message (Figure 24: New User Login Credentials).

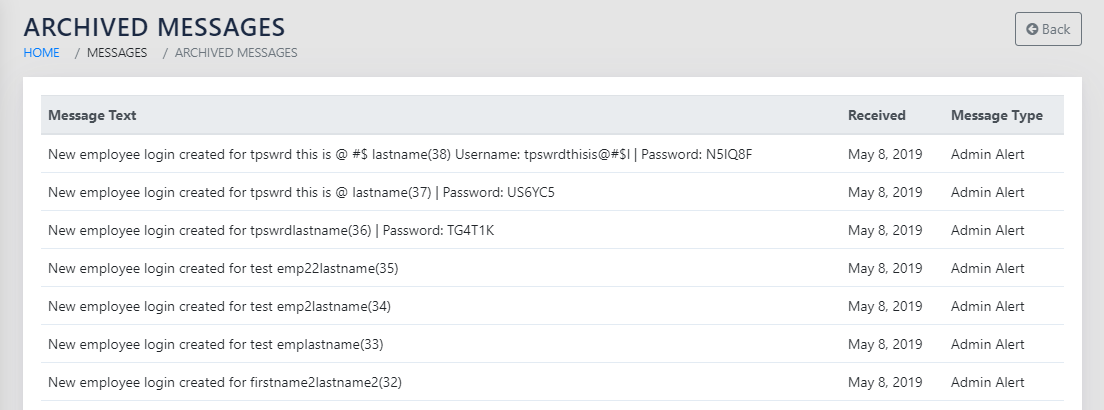
Once the message is archived, it can be accessed using the View Archived Messages button, which will bring you to the page shown in Figure 25: Archived messages
CHANGE USER ACCOUNT DETAILS
Any Logged in user can change their passwords and upload their photograph click on login user in their top Navigation Bar and after than click edit profile. This will take them to the screen shown in Figure 26: Change and Fill Login Details.
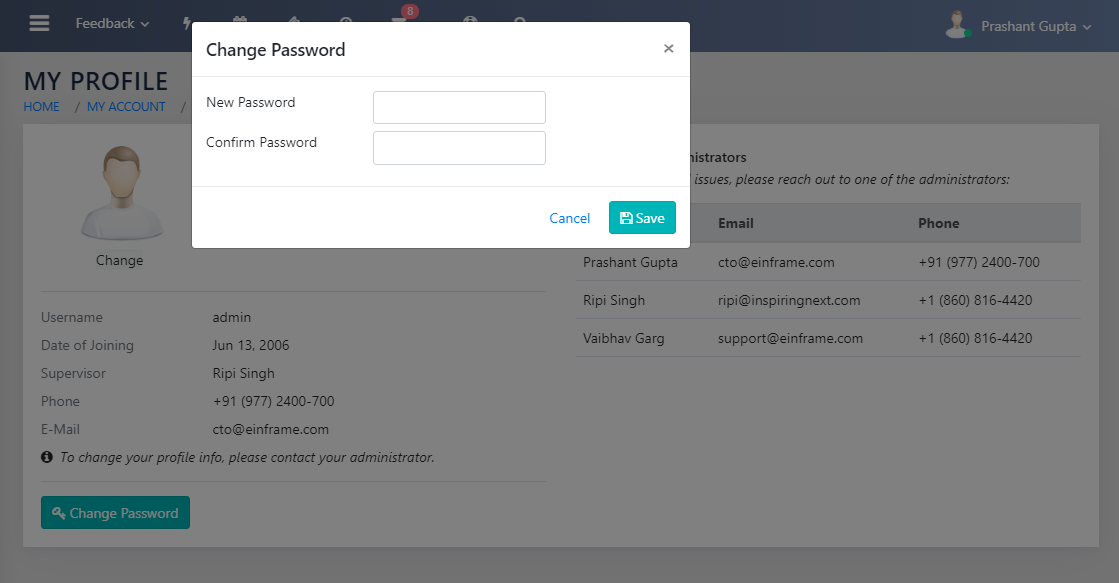
Additionally, the user gets to see all system admins on this page.